Blogs
Winter in the Whites
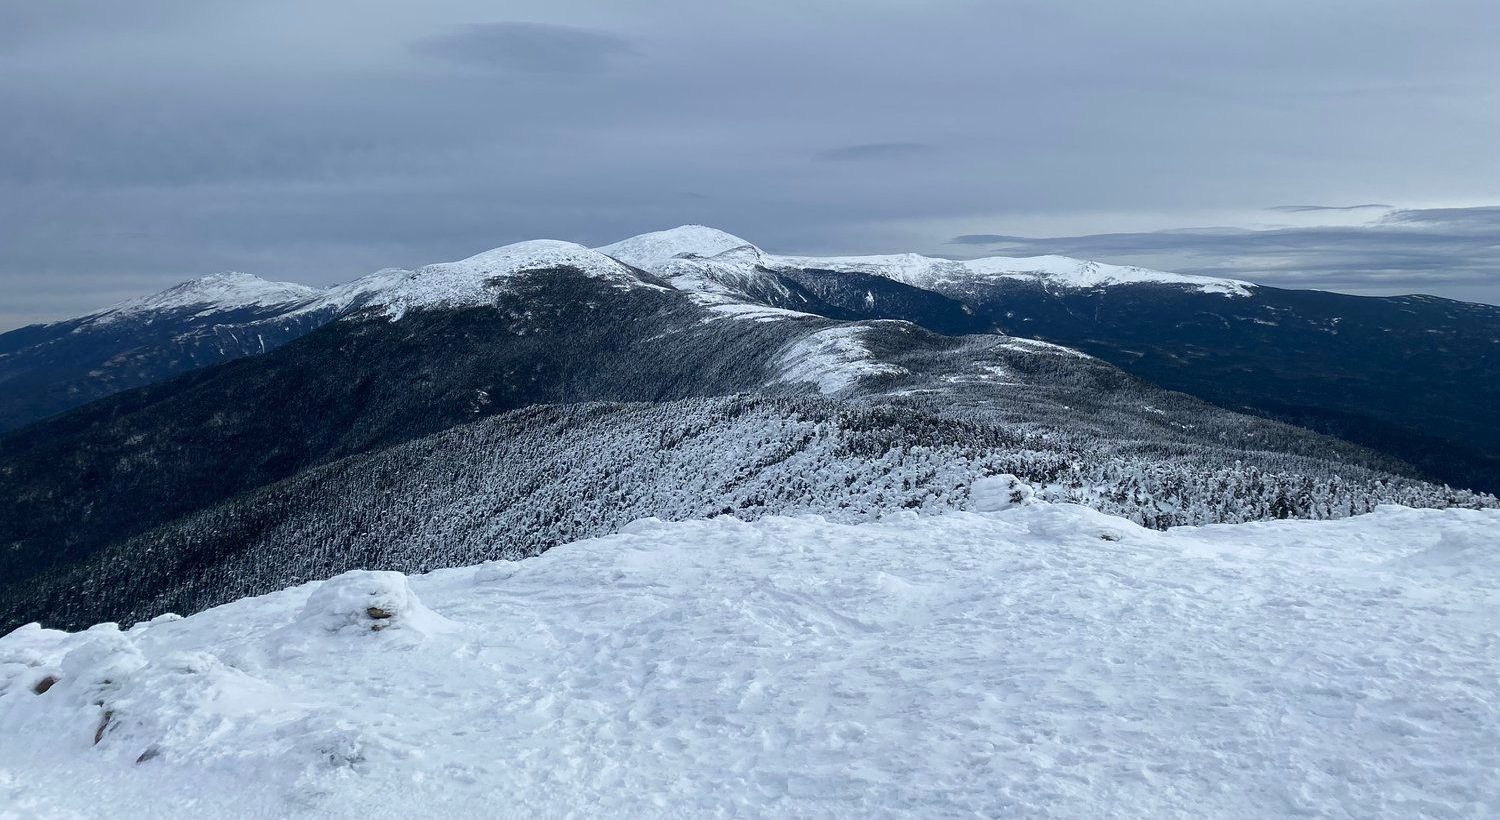
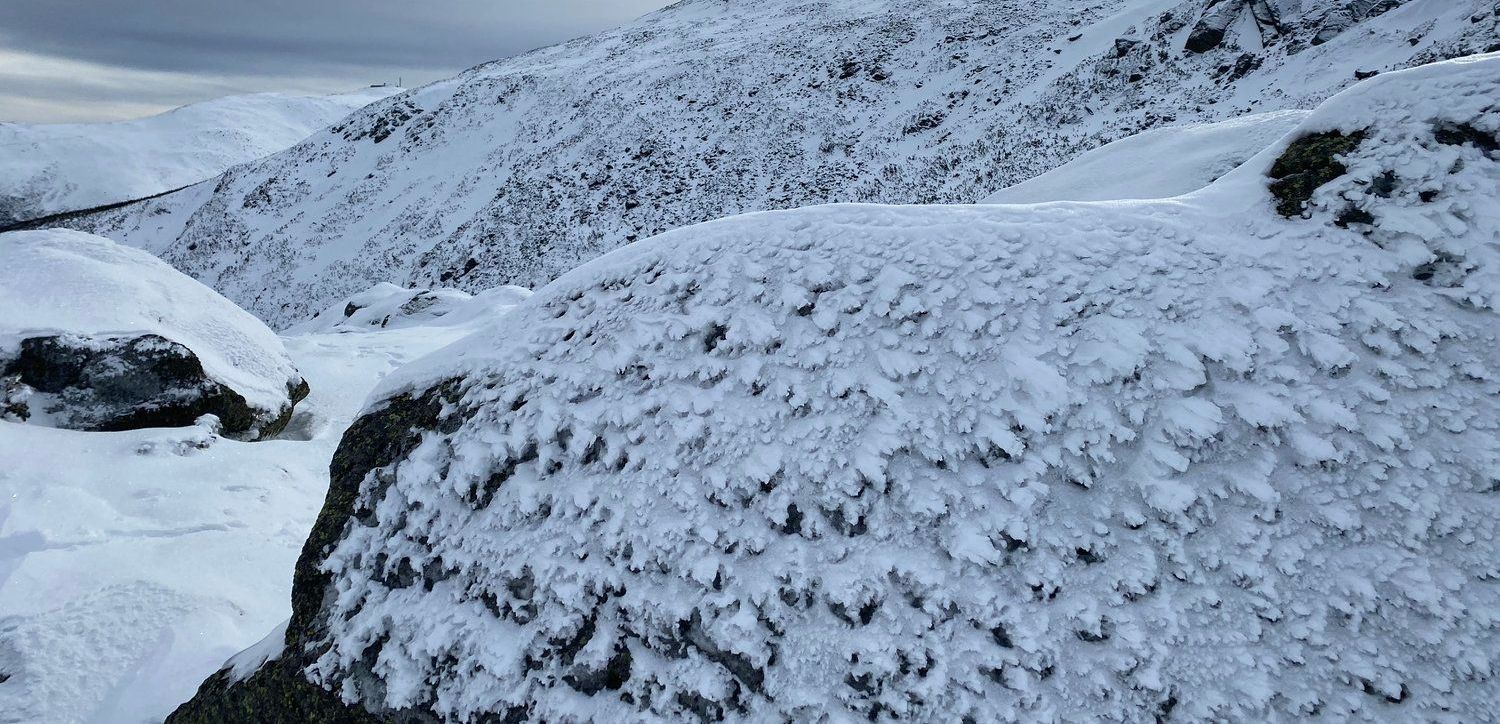
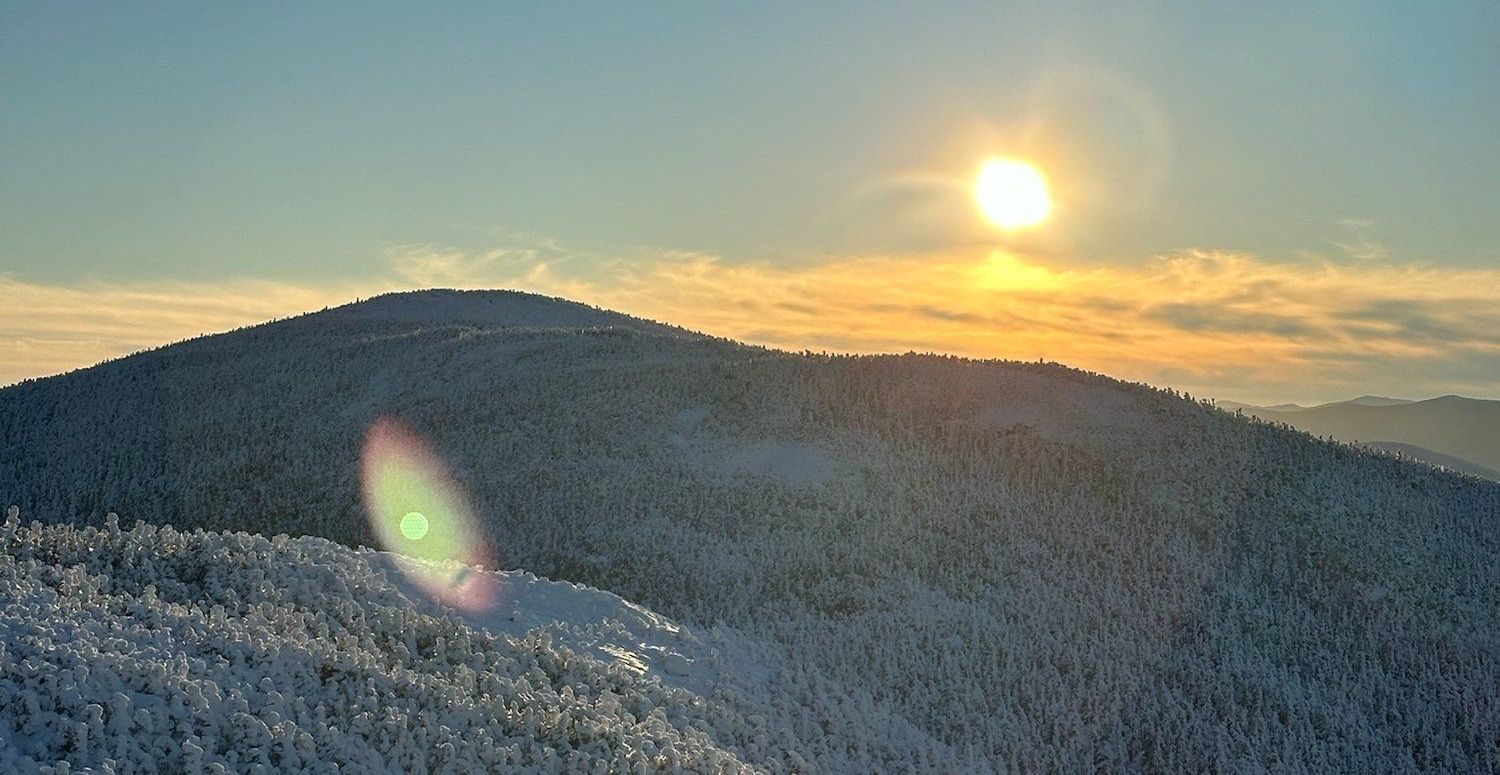
Ice particles rained out of the clear skies directly into my mask. Head down, I dodged them like a ninja. The wind was so intense. Even though it was a sunny day, the snow and ice from the trees were swooped up transforming into projectile missiles. Standing on top of the famous Carter Dome, I took my pictures and then quickly moved on out of exposure back below the summit.
Across the valley, I knew the Higher Summits were reaching winds of nearly 100mph, sustained— which meant that I was experiencing at least 80mph on the Carter Ridge… December. Not even officially winter yet, and these peaks were roaring the wrath of the strongest mythical yeti. At the top, I found myself in a few feet of snow as well as freezing temperatures— the windchill factor didn’t make anything feel warmer. I have nothing but admiration for the White Mountains in New Hampshire and Maine. They may not be the tallest in elevation, and they may not stretch further than only two states, but they sure are intense.

I love traveling to the Whites in Winter— this brings a whole new set of challenges. Compared to hiking in the summer, the weather can quickly become worse, and some of the bigger peaks require mountaineering skills as opposed to merely hiking. Sometimes I enjoy a beautiful winter wonderland hike while other times I’m willing to take on a more strenuous climb with crampons and an ice axe.
Being situated in Boston, these mountains are a quick 2.5hr-3.5hr drive depending on the desired section. From many years of experience hiking and climbing in the Whites, I have learned a great deal of knowledge on how to manage both the trek and my Type-1 Diabetes…
Keeping Insulin Warm BUT Not Too Warm
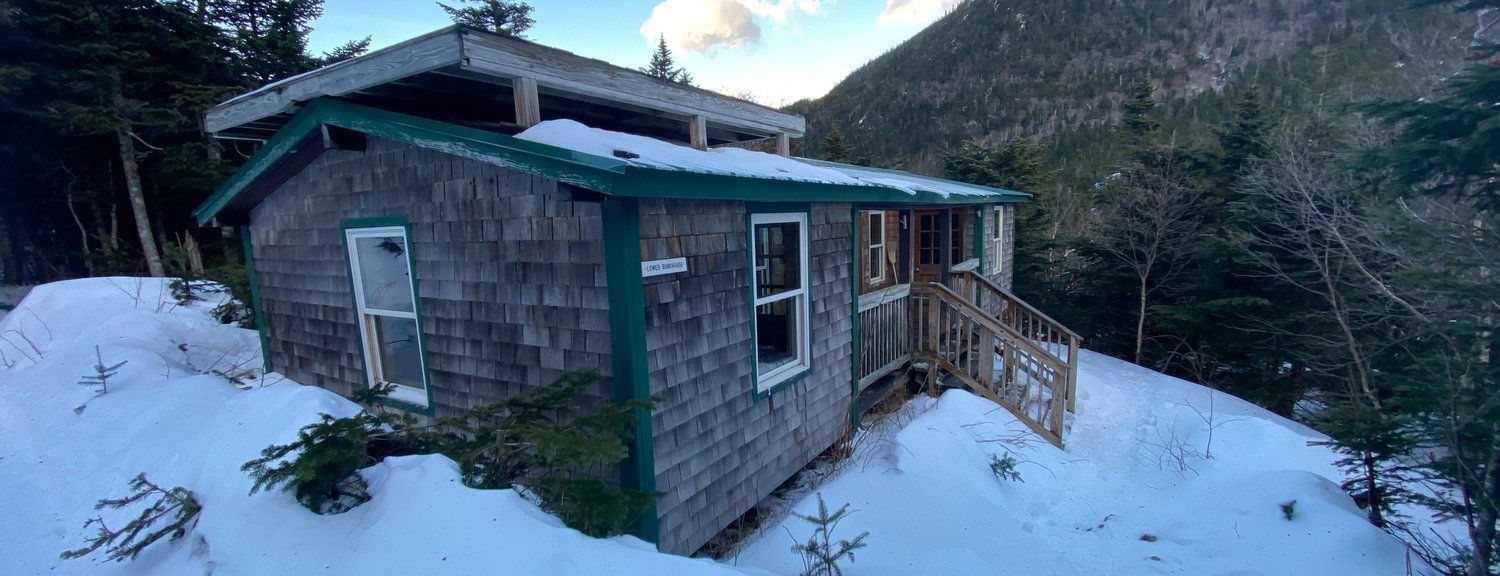
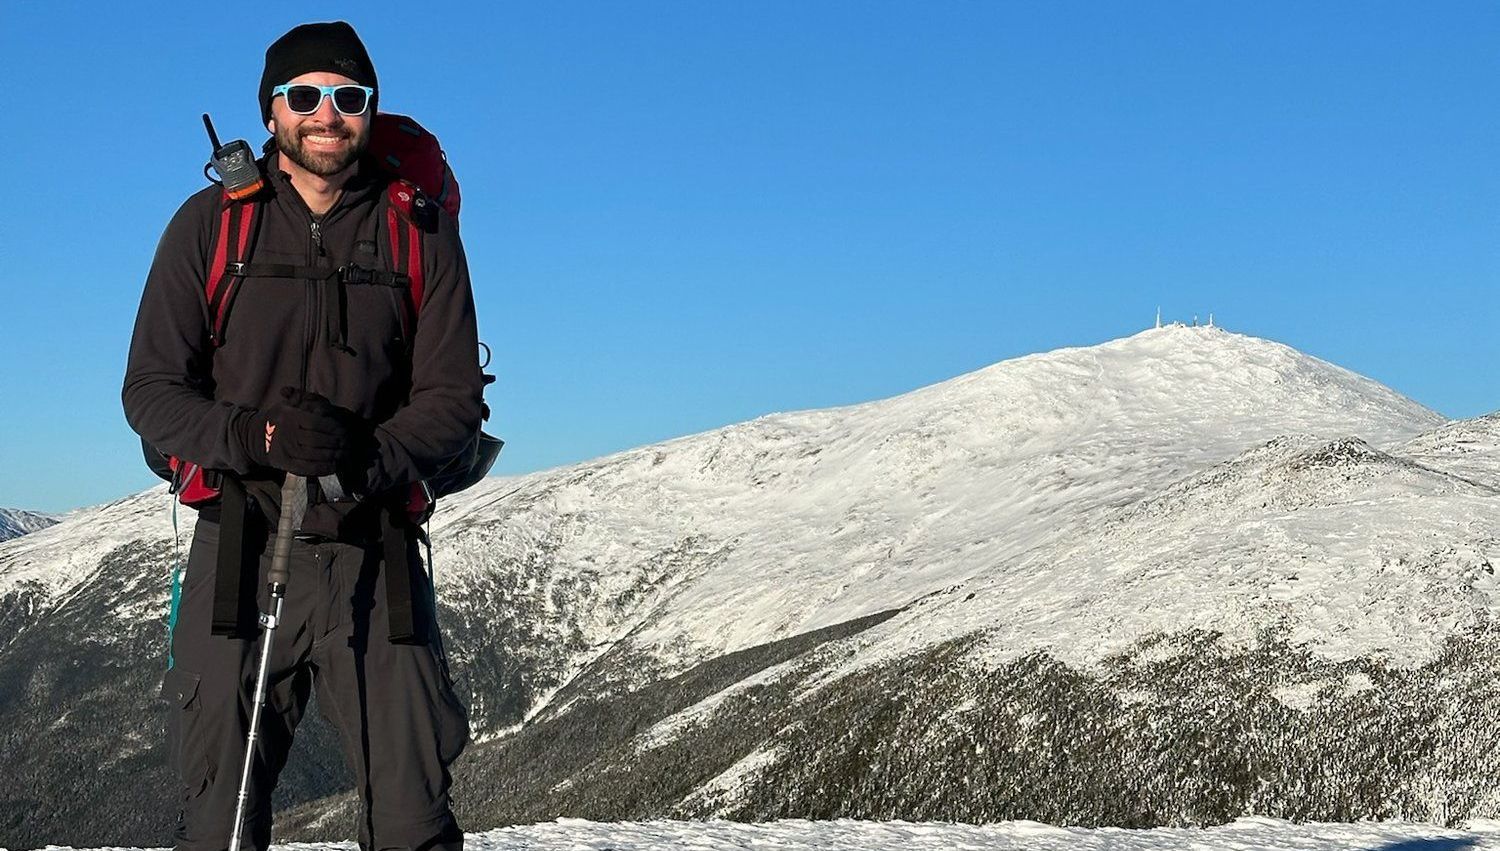
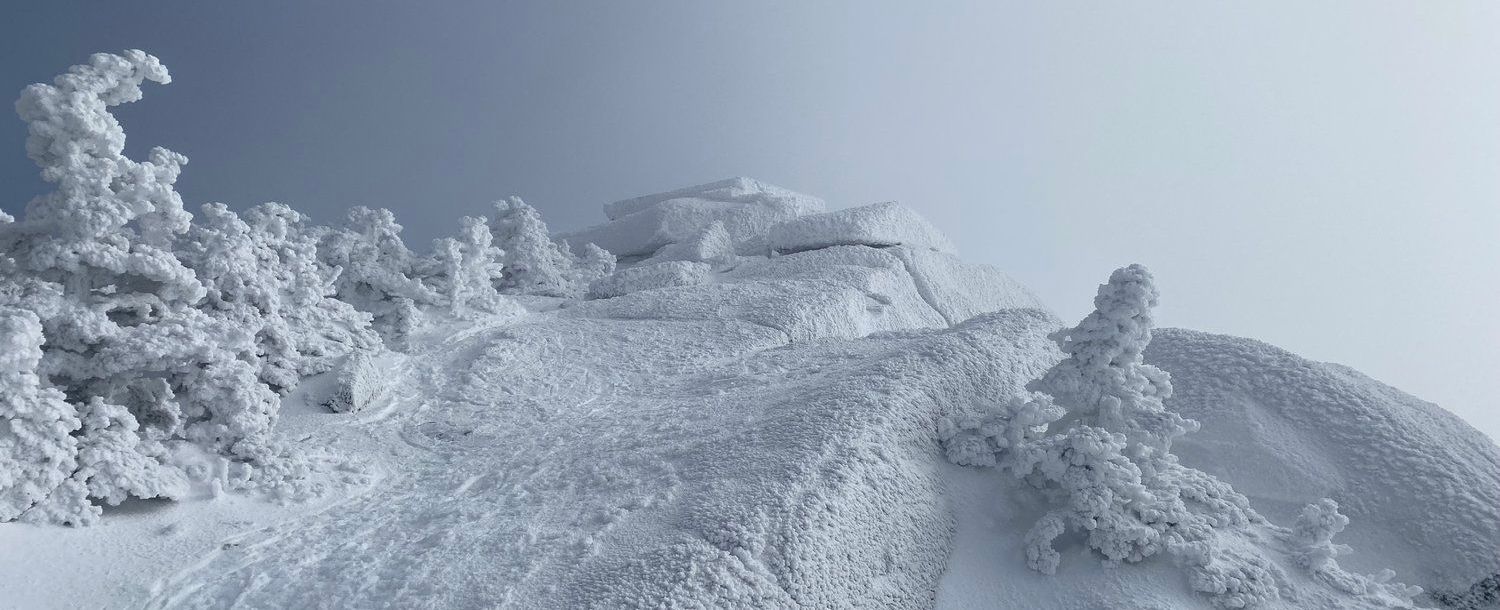
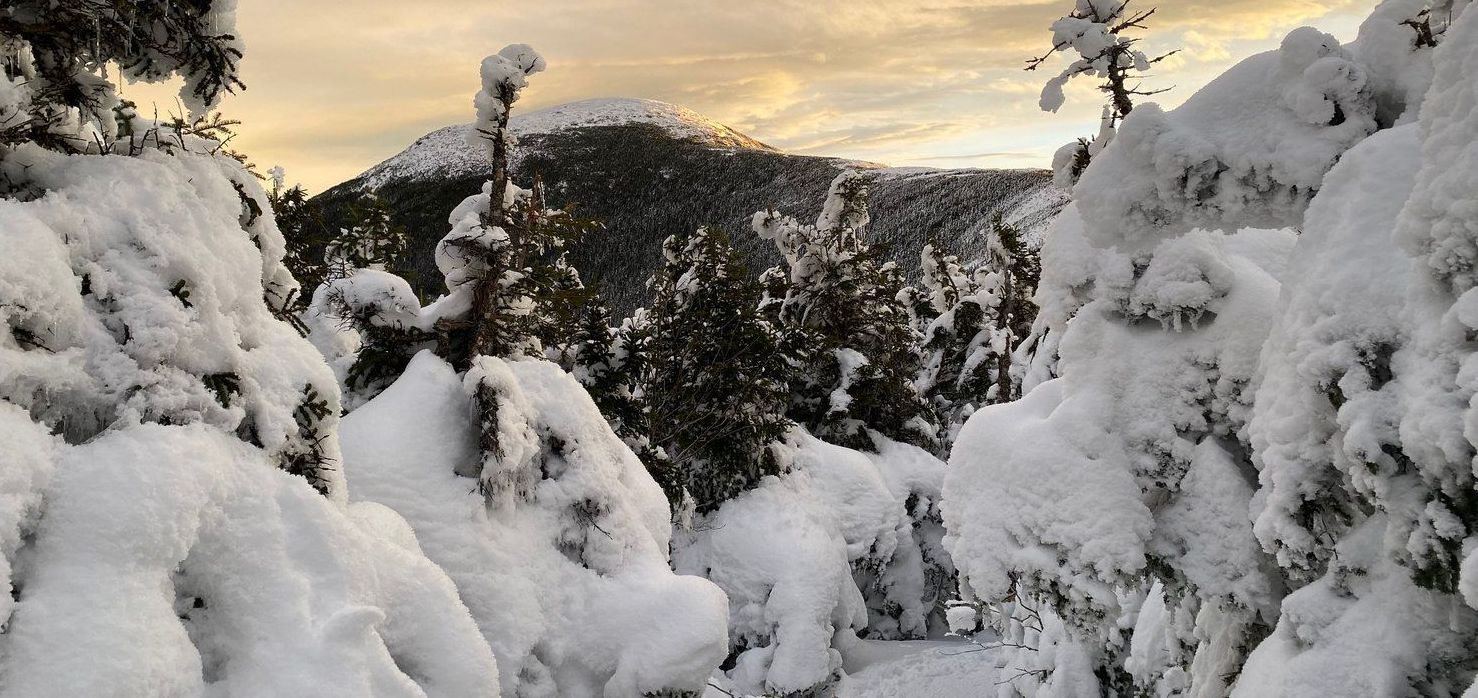
Recently in December of 2023, I stayed a night at the Carter Notch Hut. This adventure stretched over two days. The first day, I hiked to South Carter Mountain and Carter Dome ending my afternoon at the hut. On the second day, I quickly journeyed up to Wildcat A Summit before heading down to the parking lot.
When I started the adventure, the first day stayed in the 20s from the start to the summit. Yet, from hiking up 3,000ft+ of elevation gain, I quickly warmed myself up.
For my Diabetes Therapy, I use a method known as MDI (Multiple Daily Injections). This requires me to take two types of insulin with me when I go on a hike— one being a rapid-acting insulin for when I eat carbs also known as a Bolus dose (Humalog), and the other being a long-acting insulin taken once daily also known as a Basal dose (Lantus).
Traveling in such cold temperatures, I need to keep these vials at a safe temperature— above freezing.
At home, with technology at my disposal, I usually keep my unused insulin in my fridge. But out in the elements, if the insulin gets too cold, it can very well freeze. To keep my insulin from freezing, I have to hold the injection pens at stable temps.
One method is to keep the insulin close to me. Hiking up a lot of elevation gain, even if the temperatures are subzero, I always find myself hot. Keeping my body temperature warm is vital to hiking safely in the mountains, and keeping the insulin next to me allows the temperature to be relatively similar. This means that I have to bring the proper layers for day hiking and staying overnight. Storing my pens in my jackets, and close to my body, provides enough heat to keep them above freezing.
Another method is keeping my insulin in the same container as my glucometer. Even though I use a CGM (Continuous Glucose Monitor) to track my blood sugar throughout a hike, I always bring a glucometer with me to manually manage my blood sugar level when my CGM tends to be inaccurate or erroring.
The problem with glucometers is if they get too cold, they display a “Lo.” symbol and do not work. To keep my glucometer at a proper working temperature, I put handwarmers in the case. Handwarmers last around 10-hours, so for added safety, I bring double the amount I need for the amount of planned time out on the trails.
Placing one handwarmer under my glucometer, I place my insulin on the other side of the case bringing the necessary warmth for both my glucometer and insulin pens. This is great for when the temperature is so cold that I can’t track my fluctuating body temperature.
That being said… this handwarmer method can have a drastic effect on your insulin. Even if hiking in the high 20s or 30s (Fahrenheit), your body temperature can become so hot that the combination of the handwarmer in the case against your body can actually overheat both your glucometer and insulin.
This isn’t a huge problem for the glucometer, because you can take it out of the case, and in several minutes, the temperature will decrease enough for it to work again. More so, this can be dangerous for your insulin. If insulin overheats, it can become unstable and no longer work resulting in hyperglycemia (high blood sugar). You can tell if your insulin has become unstable when it appears foggy and discolored as opposed to clear.
On my day up the small portion of the Carter Ridge, I kept my insulin in my glucometer case with a handwarmer. Being cold and very very windy, this method I chose worked best for me. Staying overnight at the hut, I took my insulin out of the glucometer case and kept it in my sub20 sleeping bag next to me throughout the night.
The following day when I hiked to Wildcat A, the temperature was much warmer than the previous day. I decided to keep my insulin out of the glucometer case and by my body. I kept a handwarmer with my glucometer. This decision allowed my insulin to remain stable throughout the entire trip and kept my glucometer warm enough to function properly.
While handwarmers are a nice tool to use in certain circumstances, I do not rely on them as the end all be all. If handwarmers get wet, they can become defective. I am always ready to keep both my insulin and glucometer warm enough next to my body at any moment in case handwarmers do not effectively work.
Whether using a pump or pens, taking insulin on a hike in winter is a necessity for safety. Keeping insulin close to my body guarantees it will not freeze and allows it to remain close to the body temperature. Using this method, keeping my body warm becomes a top priority.
If I use a handwarmer to keep my insulin warm, it is usually at the opposite end of the case, and directly under my glucometer. Note again that handwarmers can make insulin too warm and overheat them to instability. Nonetheless, handwarmers are a great way to keep glucometers warm when I choose to prick fingers manually during my winter hike to keep track of my blood sugar.
Currently, when I keep insulin close to my body, it is usually in a jacket pocket close to my chest. Sometimes, even in winter, I get so hot that I am only in my base layer. For future hikes, climbs, and expeditions, I am looking into getting light vests that have pockets to keep insulin and other gadgets (like glucometer and glucagon) close to me at all times. This vest concept provides an extra layer of warmth but not too much if it turns out to be a toasty day during the hike.
Having Enough Sugar
Several weeks later, I was right below the summit of Mount Garfield. It had recently snowed, and being stupid enough wanting the challenge, I did not bring snowshoes and was in knee-deep snow. Only less than a quarter mile away from the summit, my heart was pounding. This being a six-mile trek to the top (the access road isn’t plowed in the winter adding 1.5 miles), my body was already exerting itself for a few hours. On hikes, when my heart rate goes between 130-150bpm, my sugar tends to drop with the greater amount of exertion.
I always keep at least a little Basal Insulin (long-acting) in me when hiking to help prevent any possible ketone build-up. This means I constantly have to be eating sugar to prevent my blood glucose levels from going too low. While I reduce my Basal the night before, this doesn’t stop my body from wanting to use glucose as an energy source. Type-1 Diabetes prevents me from controlling both highs and lows sometimes. When I’m out on a trail in winter, miles away from the nearest road, the last thing I want to do is drop into hypoglycemia (low blood sugar).
There is a fine balance between bringing the necessary amount of food, but not overloading the pack with immense weight. While I want to keep a balance of nutrition on the trail (such as fats, fibers, electrolytes, protein, and carbs), I also just want plain sugar to boost my glucose levels if they continue to drop. Finding something that is high in sugar as well as other contents like electrolytes is a great combination— thus, I use a lot of energy gels. One packet of energy gels holds around 50grams of fast-acting sugars.
During breaks during my hiking days, I eat fats and proteins like trail mix and protein bars. Then, when physically moving, I store fast-acting sugar, such as energy gels, in my pocket to keep my sugar up. This allows me to eat while on the move.
Less than a quarter mile away from the Garfield Summit, I chugged my last bit of a homemade electrolyte beverage. Taking a few steps at a time and then a quick breath, I slowly sludged through the snow. At this moment, my heart rate had been increased for multiple hours. Ingesting an immense amount of sugar, my body was using it all to continue on. I could feel right where it was going too— my quads and calves were burning. My sugar kept going lower and lower, but I was so close to the summit. The last stretch up to Garfield is a steep incline worthy of holding onto nearby branches or using all of your energy on your poles to pull yourself upward.
Knowing I had only a little more to go, I calmed myself down about my dropping glucose levels. Reminding myself that the descent would provide a different situation for my blood’s reaction, I continued to enjoy the misty and mystic summit alone. The clouds covered the view, but the wind kept everything still. The summit looked like a manmade movie set— I couldn’t believe it was the cold reality of nature with the remnants of a human-built tower foundation.
My educated gamble paid off. On the way down, the muscles I was now exhausting created a different reaction to my blood sugar. I didn’t have to use as many fast-acting sugars because my glucose levels weren’t dipping low with an increased heart rate. When they would begin to lower, it was more gradual, so I ate higher protein and fat-based snacks such as trail mix to keep it stable.
Throughout a typical day, I keep my blood sugar levels between 70-140mg/dL (obviously not 100% of the time due to the difficulty and variability of managing T1D). When I’m on a strenuous hike that is over a temporary period, I am satisfied with keeping my blood sugar between 100-250mg/dL. Years ago, I was okay with keeping my blood sugar above 180mg/dL for the majority of the day, but recently, I am learning how to manage activity with my levels below 150mg/dL and not dropping too low below 100mg/dL for a safety margin. Dropping below 70mg/dL (especially below 55mg/dL) can quickly become dangerous. If blood glucose drops too low, an individual can have serious health complications such as loss of consciousness, seizure, and at worse death.
At the beginning of my adventures, I typically eat more carbs (such as a banana) which spike the glucose levels high instantly (to between 180-225mg/dL), but after a few miles of an increased heart rate, the levels lower on their own, and I then try to keep a blood sugar level between 100-150mg/dL throughout the rest of the day.
At this point in my hiking career (if you’d like to call it a career), I know my body so much that I know what foods will spike my blood sugar to what levels at a given time in a hike correlated to mileage, elevation gain, heart rate, and onboard Basal Insulin. This leads me to my final point of today’s discussion…

Training to Build Trust
When I step onto a trail— whether it be with crampons, snowshoes, or microspikes— I know at that moment how my body is doing, and I have trust in myself on how it will react throughout the day. This trust exists because I’ve tested the reaction of my blood sugar in similar situations that aren’t the trails. While acknowledging this isn’t my first rodeo on a trail or trek, I prepare myself for the specific occasion in the weeks leading up to the event. Like a professional athlete, 4-6 days a week, I train…
Being an avid hiker and climber, much of my training consists of running and light weightlifting. To prepare for situations in the cold, I run outside in the cold. Training in similarly simulated situations, yet close to my home, I can test how my body reacts in certain conditions. If I have too many layers on, I sweat more, and my blood sugar drops quickly. I know around the two-mile mark on a run and hike is where I start to see a change in my glucose. All of these details are oriented to my personal body, but training allows anyone to discover information about their body and their glucose reaction to activity.
Training also prepares your body for peak conditioning on hikes and climbs (pun intended).
Conclusion
While a major goal of T1Determined is to collect a community worth of knowledge about T1D Athletes and their routines and mechanisms for performance, the goal for these first initial Blog Posts is for me to go through circumstances in where I have learned about how my body reacts.
In future Blog Posts, we will cover exact trip reports and layout glucose level charts (with my CGM)— correlating them with my heart rate charts and mileage/elevation charts as well. Diving deep into the data, we can use my body to learn a little about how Type-1 Diabetes works in others.
The White Mountains are both a great training ground and a great place for new full-blown expeditions. From day hikes up 4,000ers to the Presidential Traverse, they provide a variety of difficulties and present unique challenges, especially in winter. I will forever hold admiration and respect for Winter in the Whites.
This is T1Determined.
Blogs